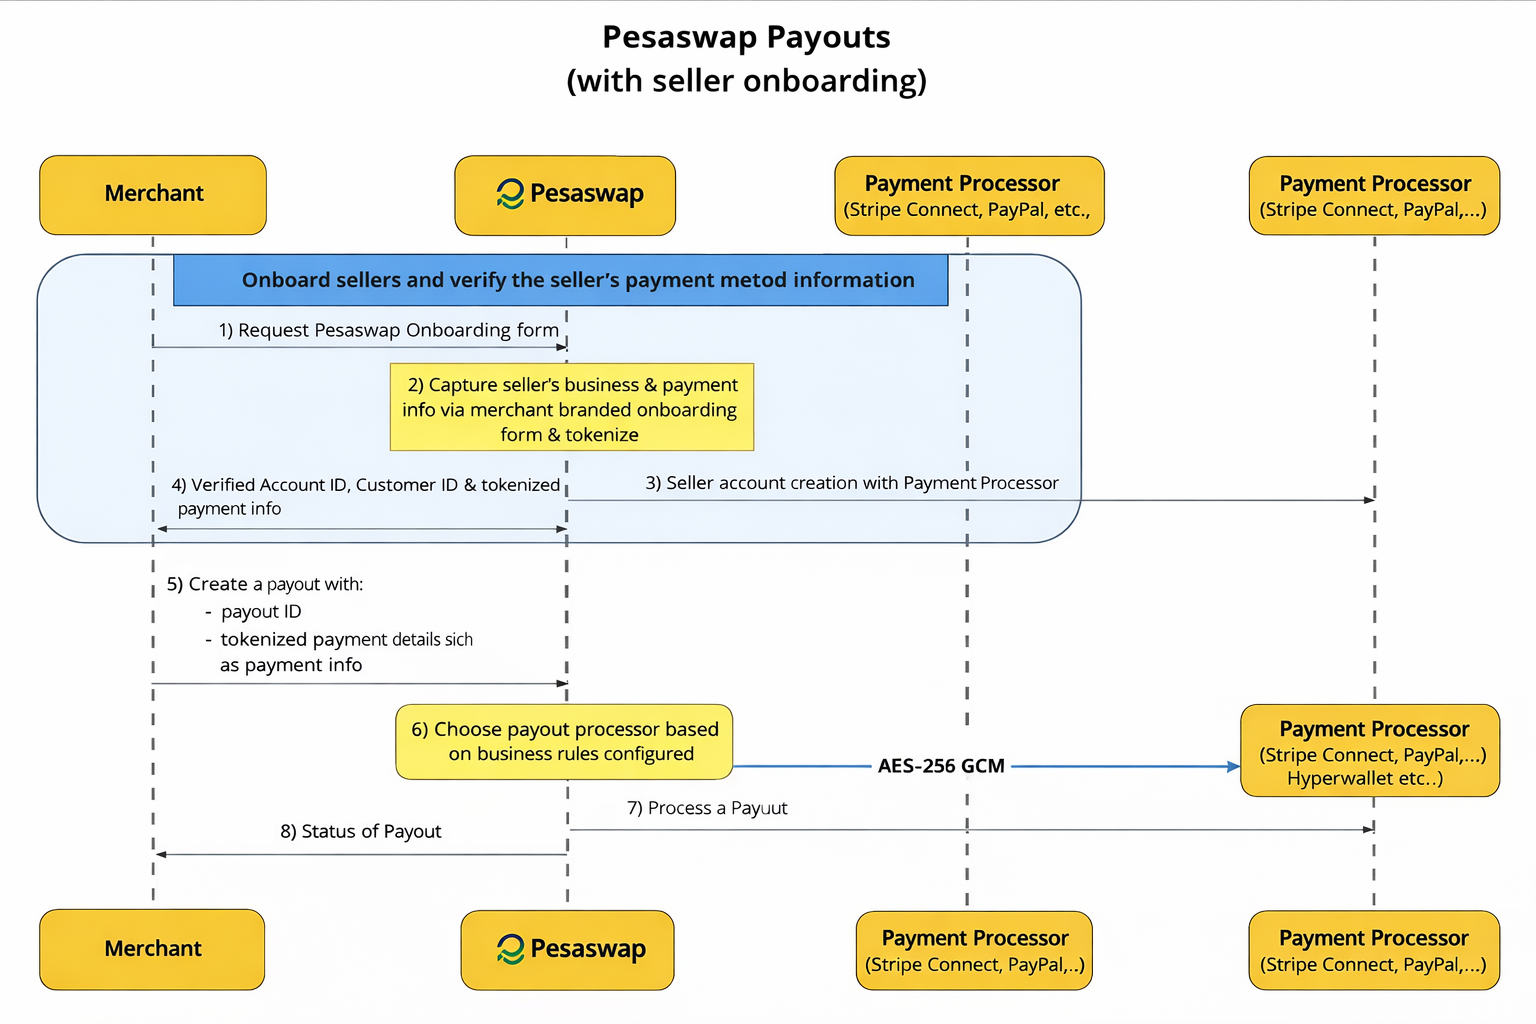
How Does It Work?
How to get started?
We will be using Pesaswap’s hosted dashboard and Postman API collection for configuring connectors and processing payouts. You can find API reference here. Backend API endpoint - https://sandbox.pesaswap.io Dashboard - https://app.pesaswap.io Pesaswap provides an end-to-end payout solution using:- A hosted dashboard for configuring processors
- A Postman API collection for processing payouts via API
Pre-requisites
Before starting, make sure:- ✅ You’ve created an account at https://app.pesaswap.io
- ✅ You’re logged into the dashboard
- ✅ You’ve generated an API key under Developers
- ✅ You’ve noted your
merchant_idfrom the home page
Configuring Payout Processors
Step 1 — Log in to your Pesaswap account
Go to: https://app.pesaswap.io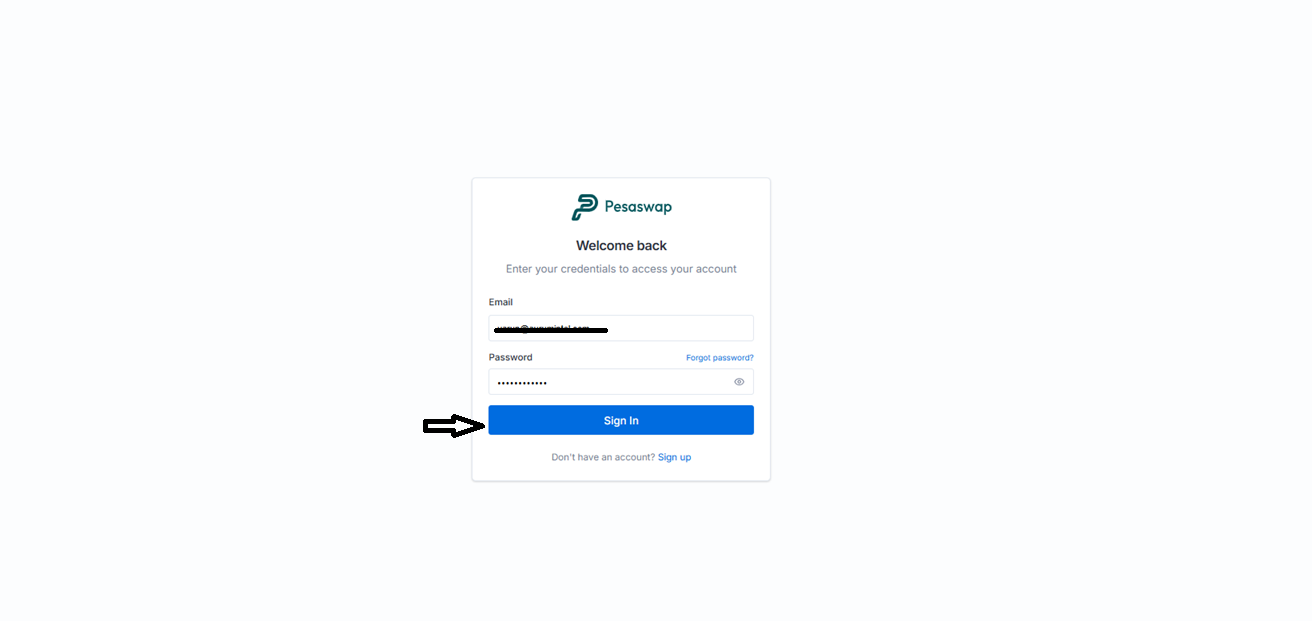
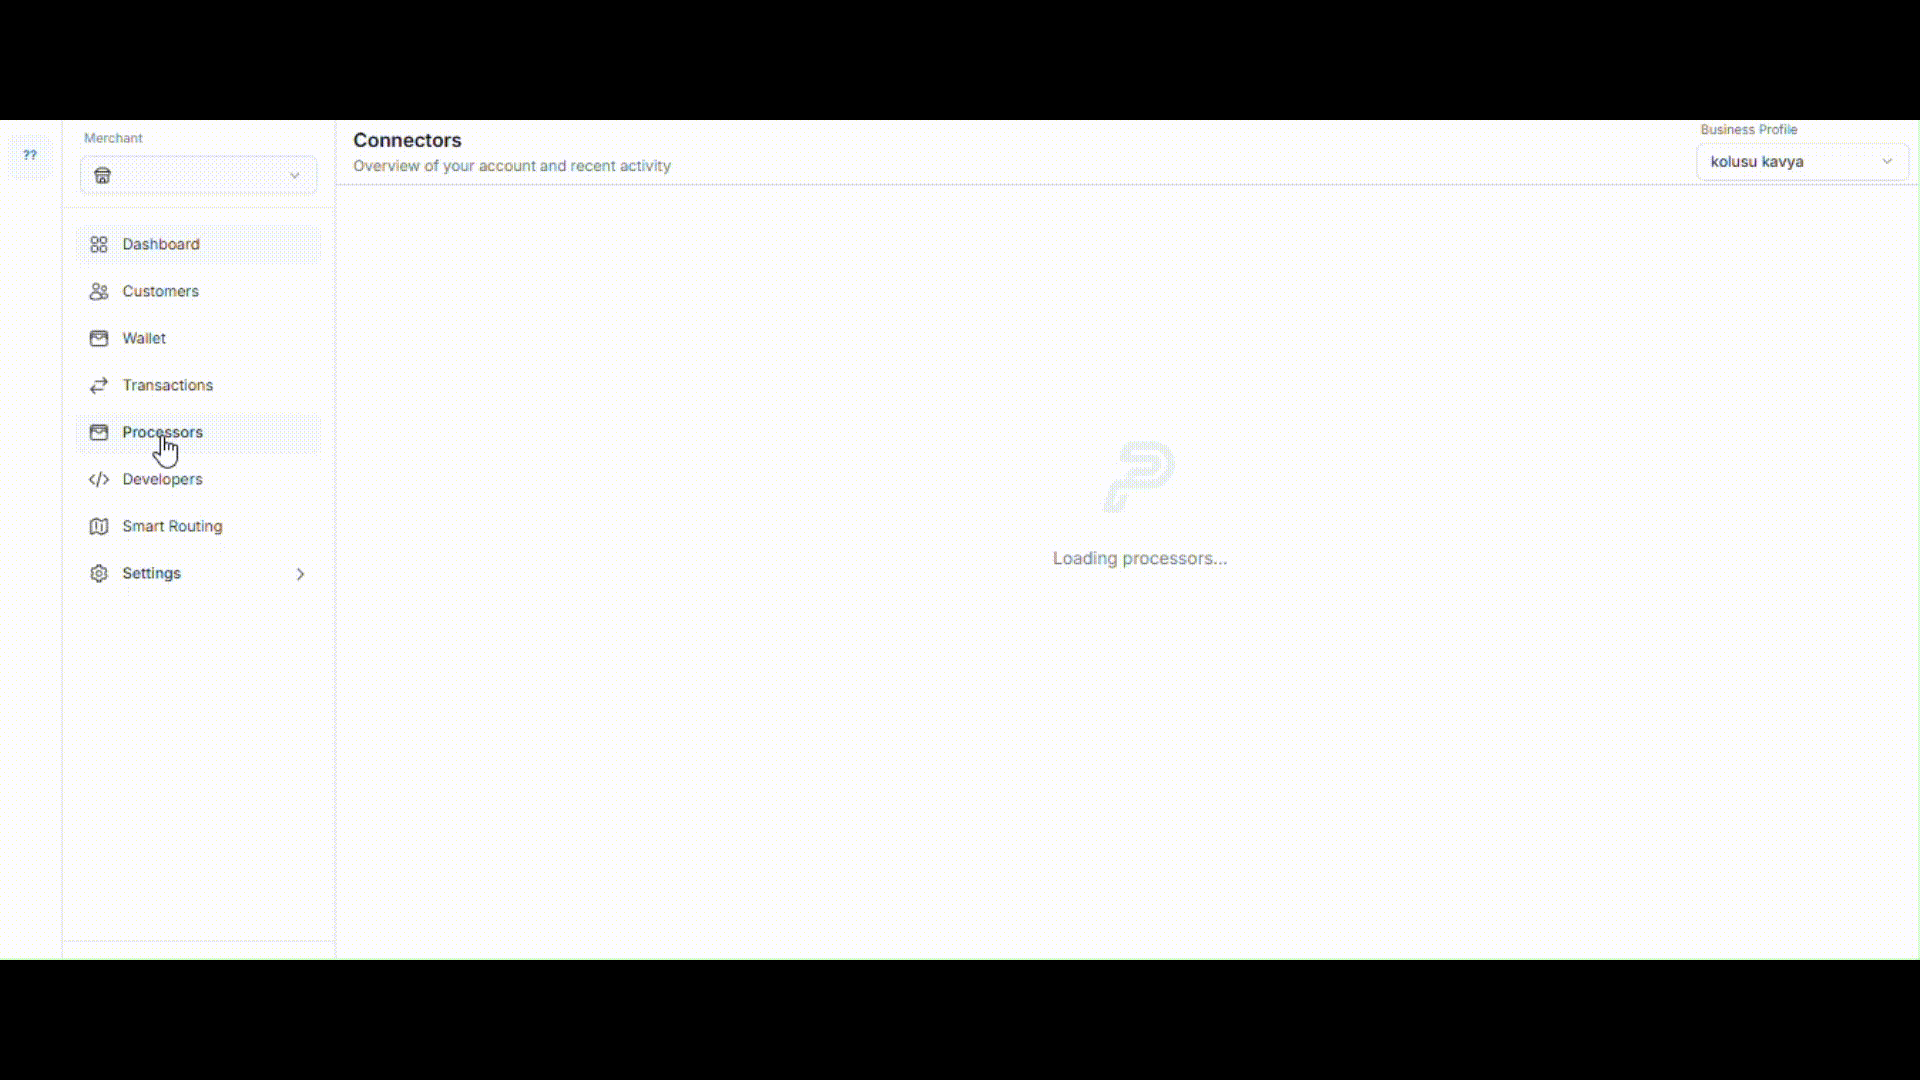
Step 2 — Navigate to the Payout Processors tab
This section lists all the supported payout processors.
Step 3 — Select a processor & add credentials and Enable preferred payment methods
 Click on your preferred processor and enter the required authentication keys or API credentials.
Turn on the payment methods you plan to use for payouts.
Click on your preferred processor and enter the required authentication keys or API credentials.
Turn on the payment methods you plan to use for payouts.
Step 5 — Done!
You’ve successfully configured your payout processor!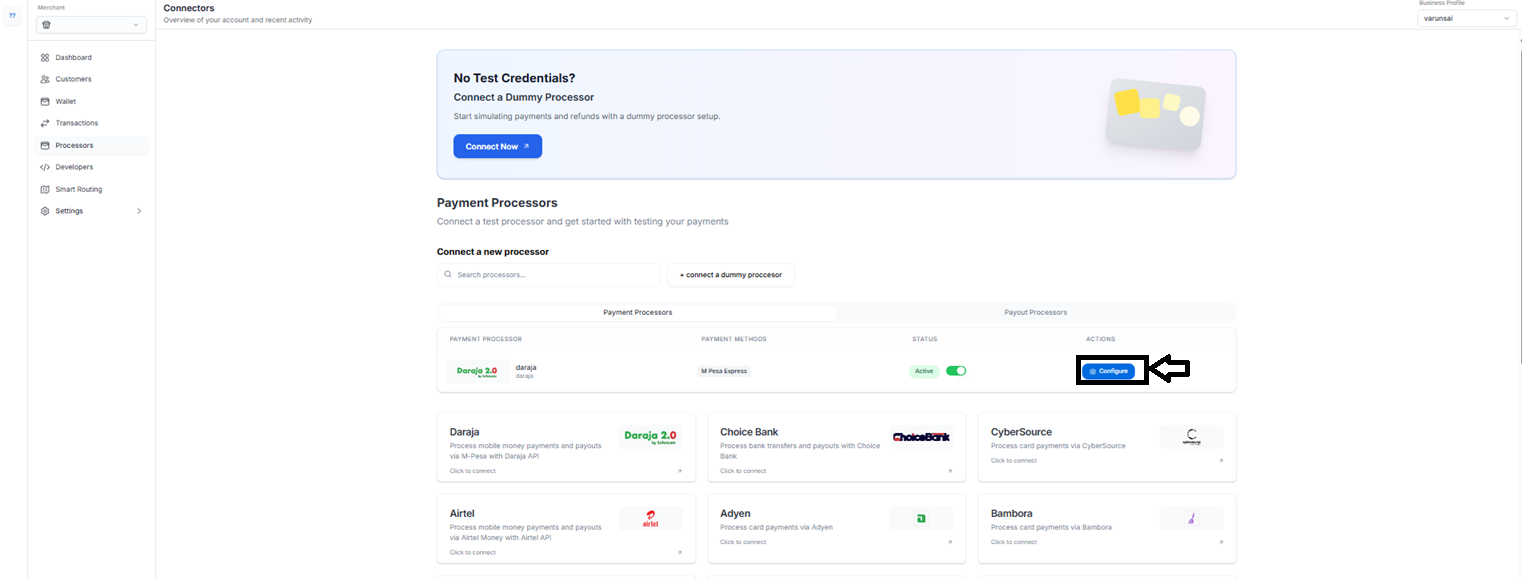
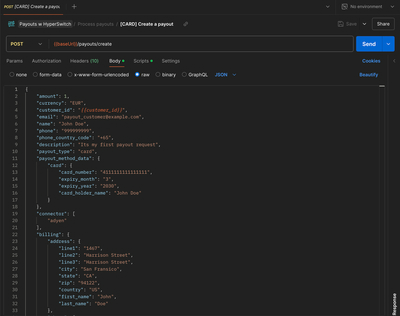
Processing Payouts via Postman
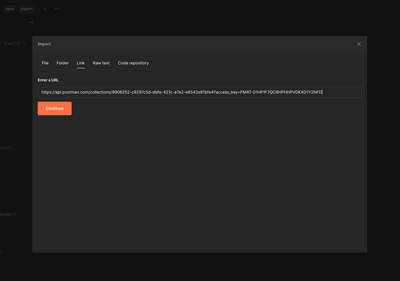
Step 1 — Import the Postman collection
Download the collection from the official Pesaswap docs or request it from pesaswap@Pesaswap.in
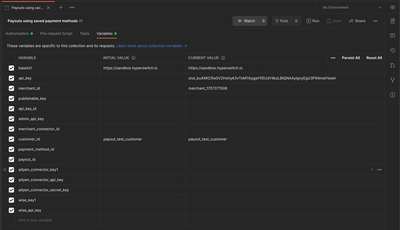
Step 2 — Configure your Postman environment
Set the following environment variables:| Variable | Value |
|---|---|
baseUrl | https://sandbox.pesaswap.io |
merchant_id | Your merchant ID |
api_key | Your generated API key |
Keep your API key secure. Never expose it in client-side code.
Step 3 — Process payouts
Go to the “Process Payouts” section in the collection and send a request using either:- A saved
payment_method_id - A newly added payment method
Make sure the payout method is compatible with the configured payout processor.
Steps for processing payouts
Step 1 - Import postman collection from here.
Step 2 - Navigate to Variables tab to set up below variables
- baseUrl
- merchant_id
- api_key
Step 3 - Head to “Process payouts” section for processing payouts.