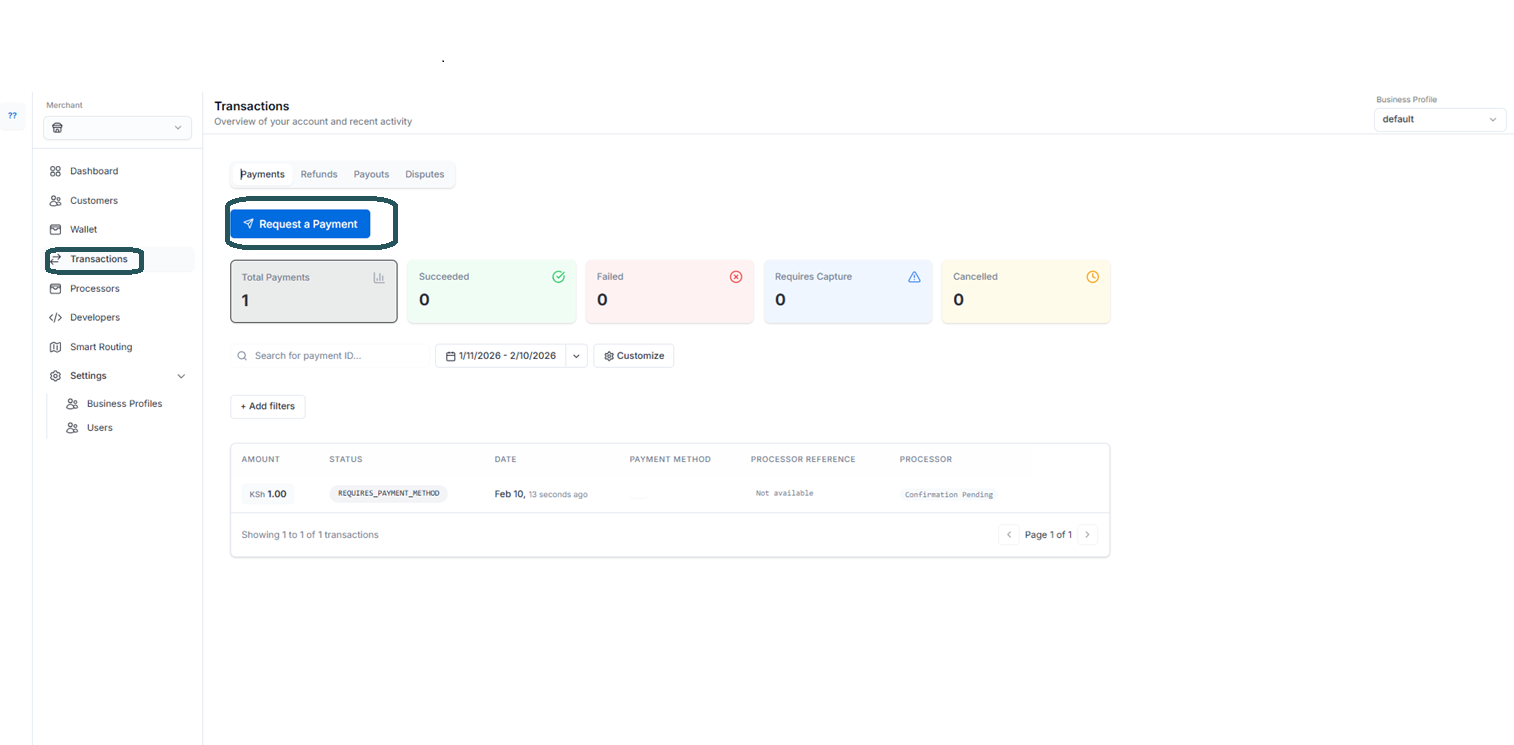
Test on Web Client
Once you have successfully run the control centre, you should be able to test the payments.Account setup is a pre-requisite before you can test the payments.
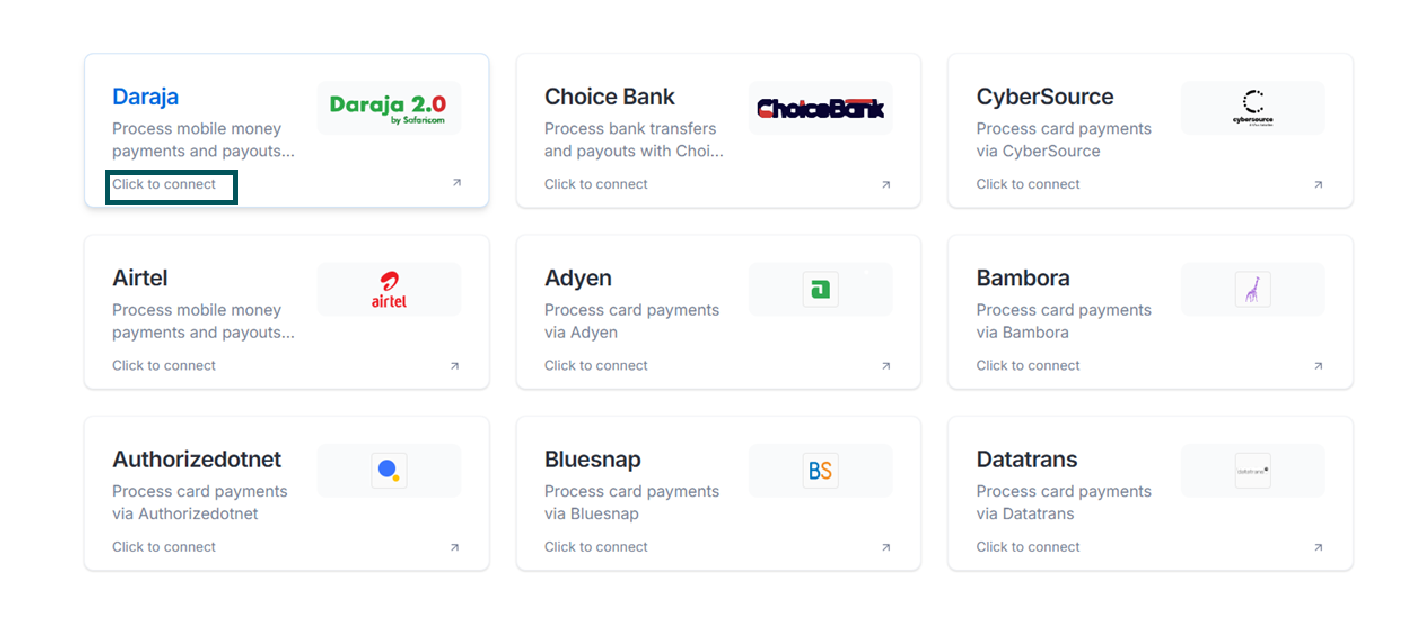
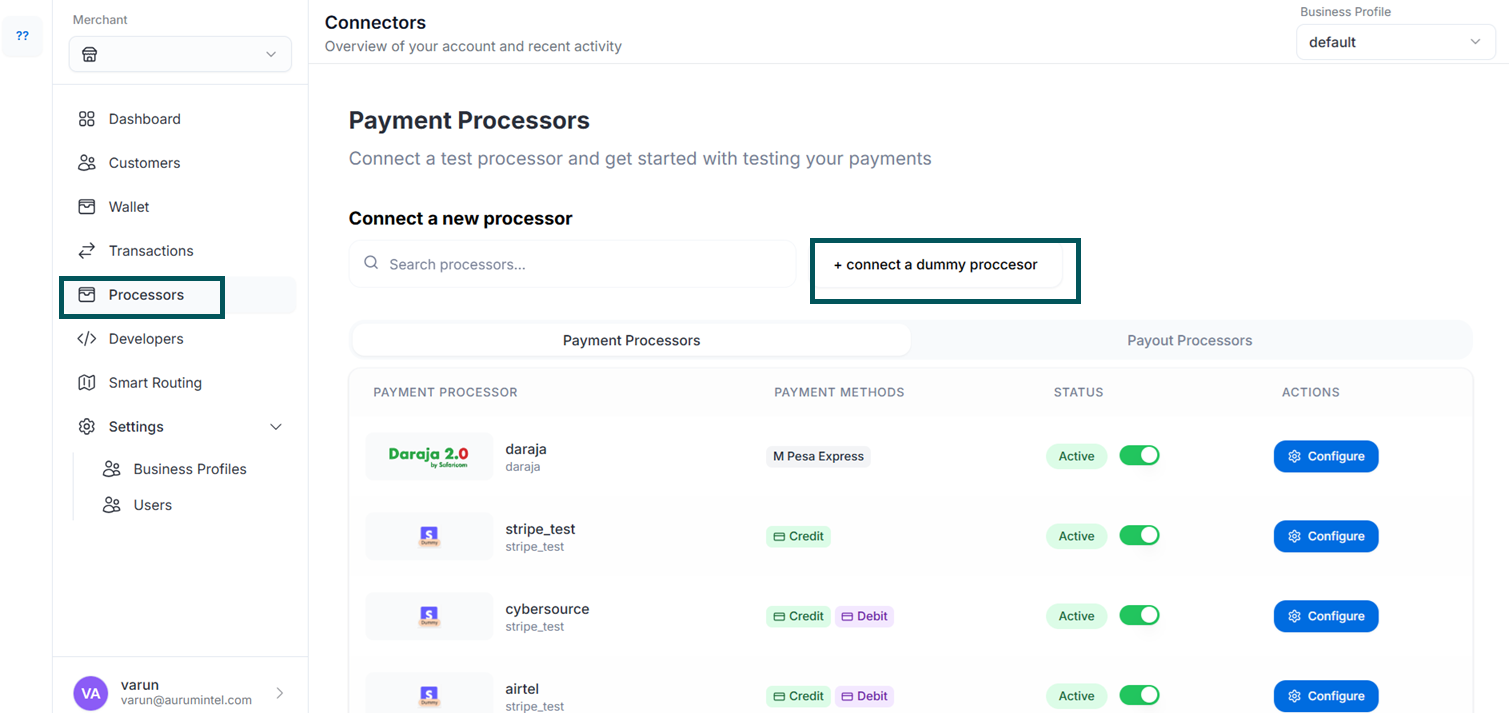 Go ahead and connect any dummy processor, we’ll show an example with the darja processor:
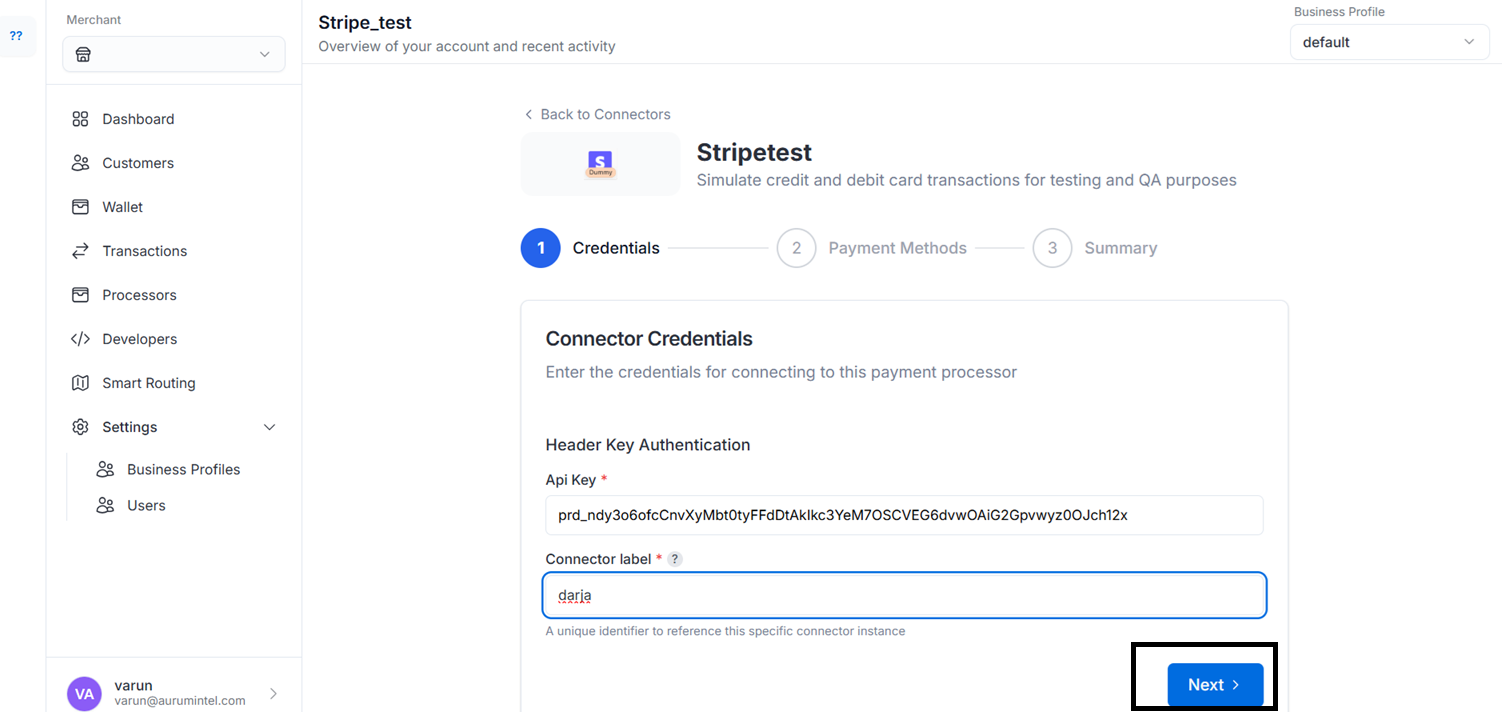
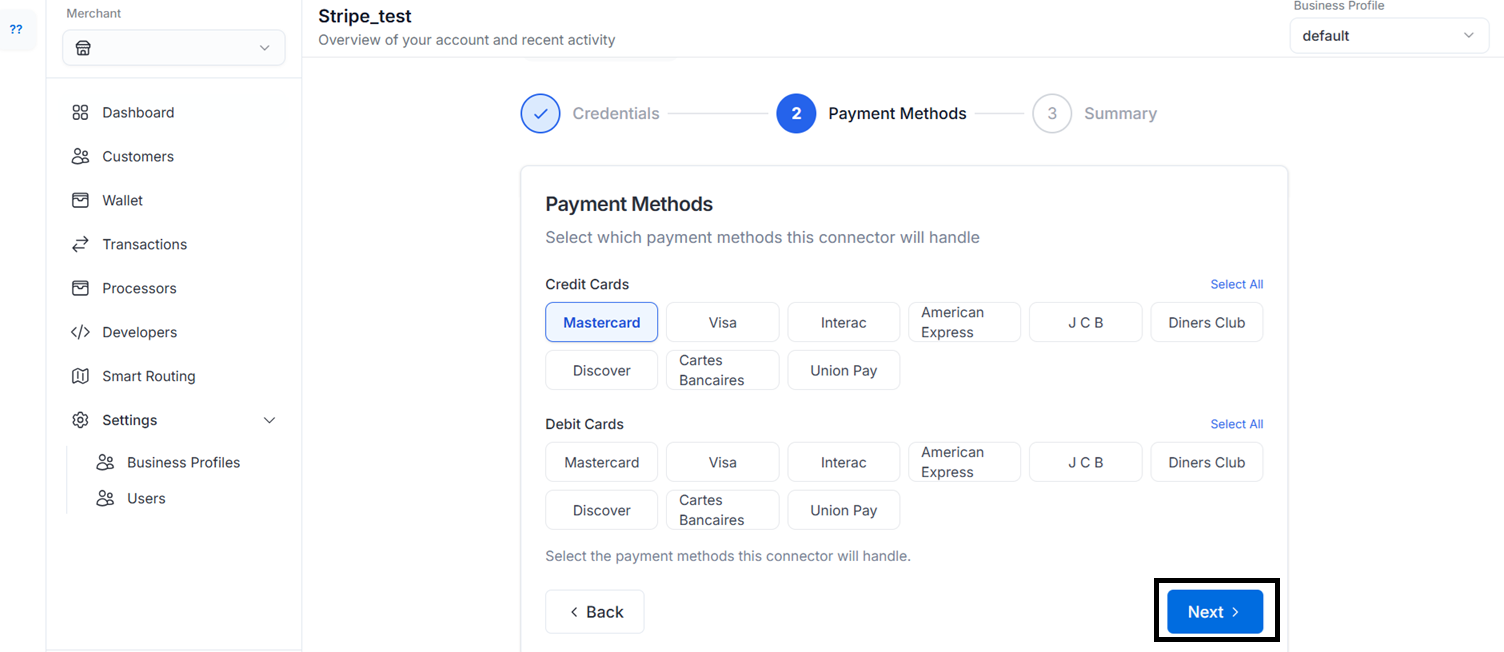
 Just connect and proceed with the provided credentials:
 From there, navigate back to the Home page and click on Try it out:
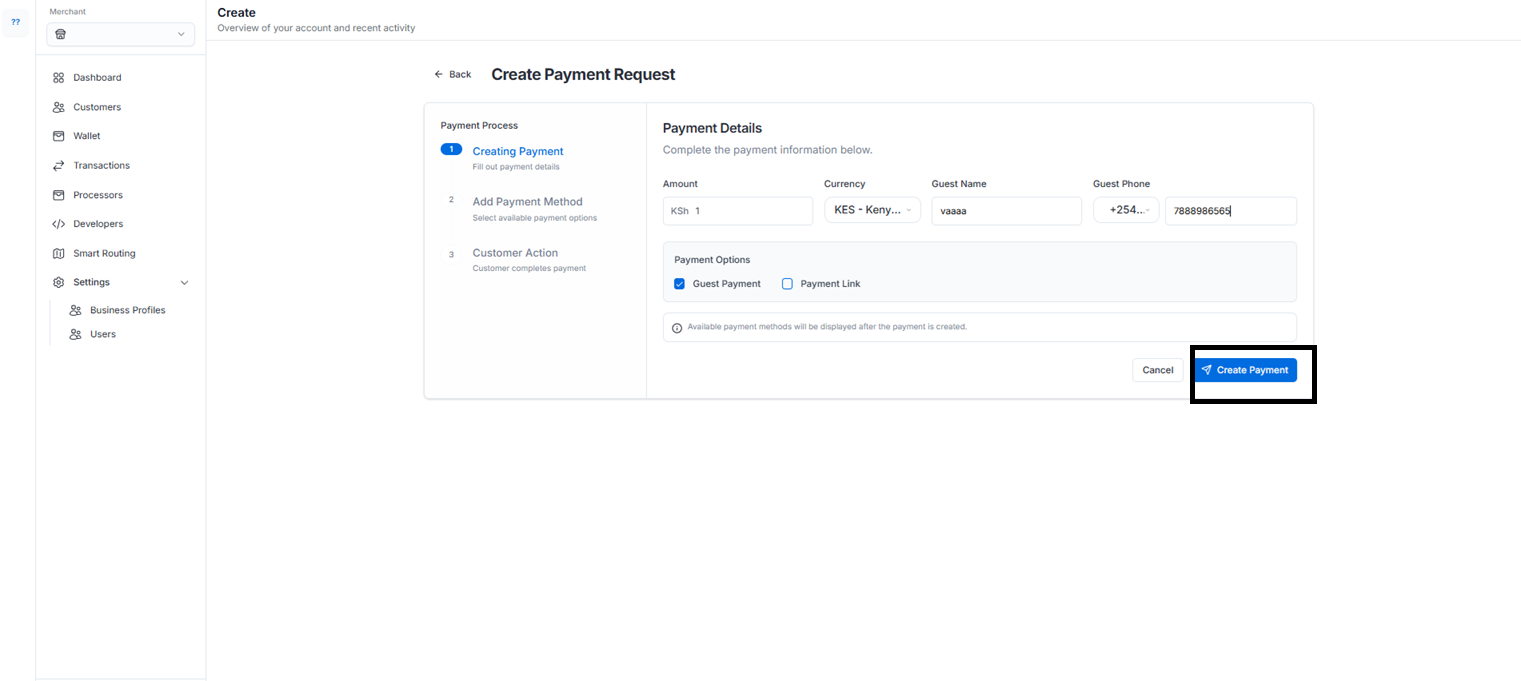
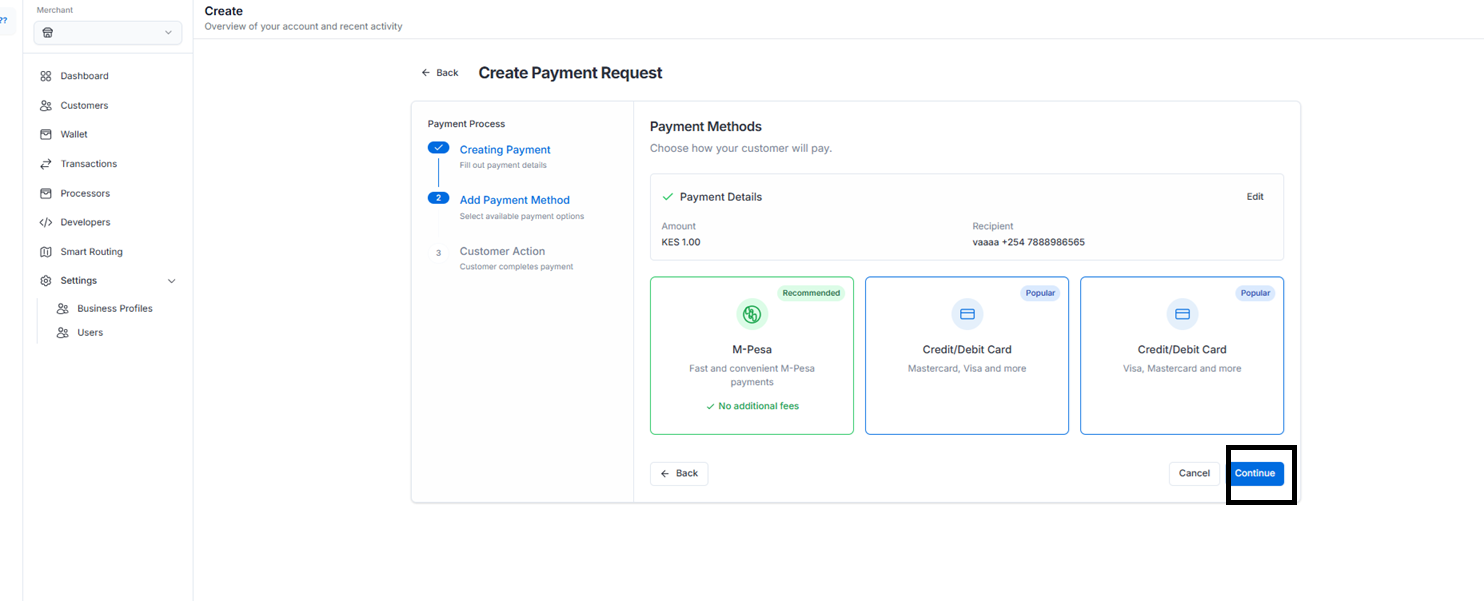 Input the credentials and Click on Pay 100: :
In case you have integrated the web client on your app and want to test a payment, the payment status confirmation screen has to be handled by you. You will see that post payment confirmation.